
Data insights
10. November 2025
Stop spam traffic in your advertising and save up to 10% of your budget
Spam traffic can quickly become costly—both in ad spend and in polluted data. Fortunately, there are tools such as ClickCease that systematically measure invalid clicks and block them. This typically allows you to save around 10% of your ad spend and improve the algorithms’ learning.
Content
Introduction The consequence of spam Benefits of ClickCease Who should use it Pricing Setup guideAre you paying for spam traffic? And how do you stop it?
In our work as a consultancy, we encounter no companies that are aware of the challenge of spam traffic and the consequences it brings.
And this is despite the fact that, in several cases, more than 30% of the traffic from campaigns that otherwise looked reasonable is actually spam (spam traffic, bots, and competitor clicks).
There are several tools that do the same, but at Morningtrain we rely on protecting our clients’ campaigns with the click-fraud tool ClickCease.
Why ClickCease:
- It works very well
- It is easy to set up
- and the reporting tool is good.
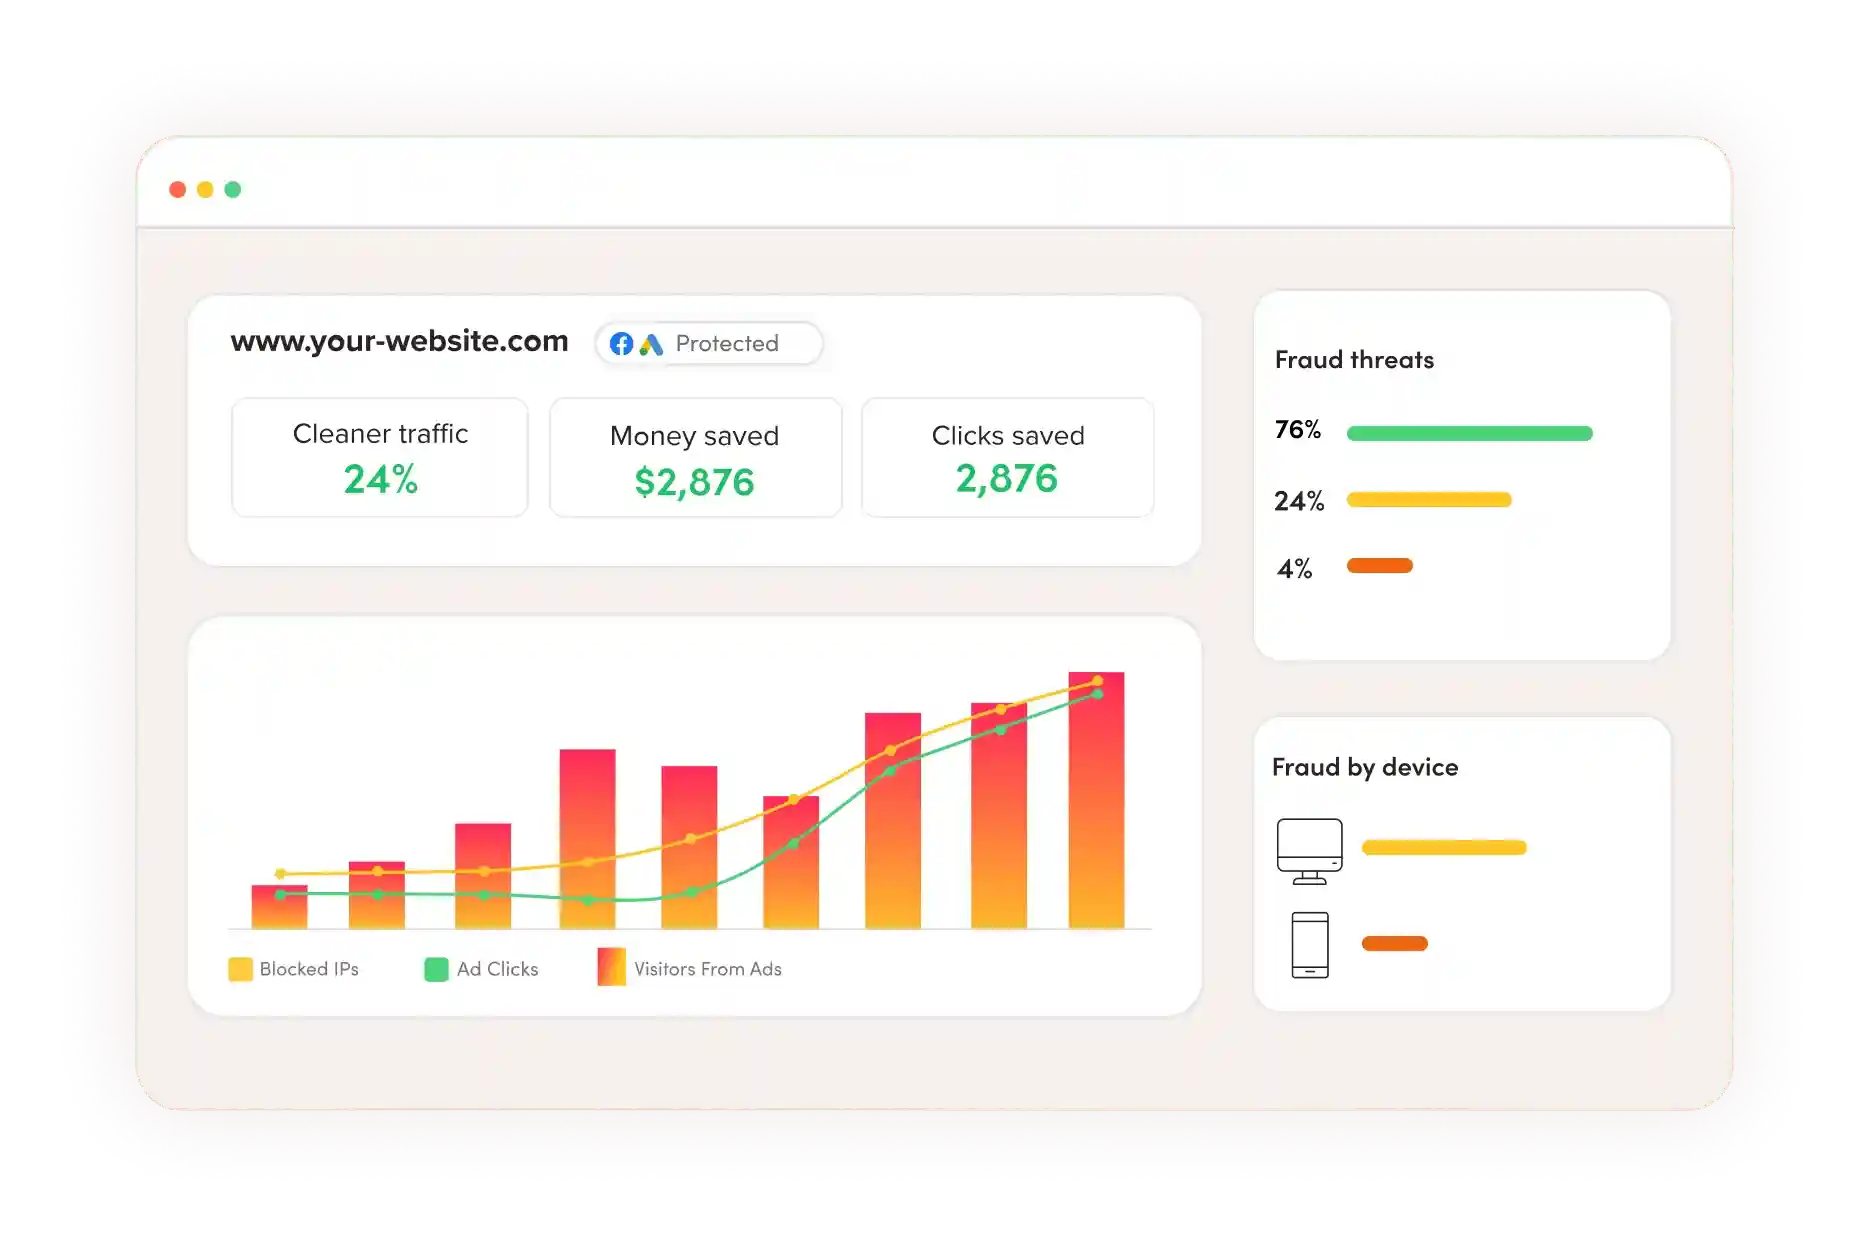
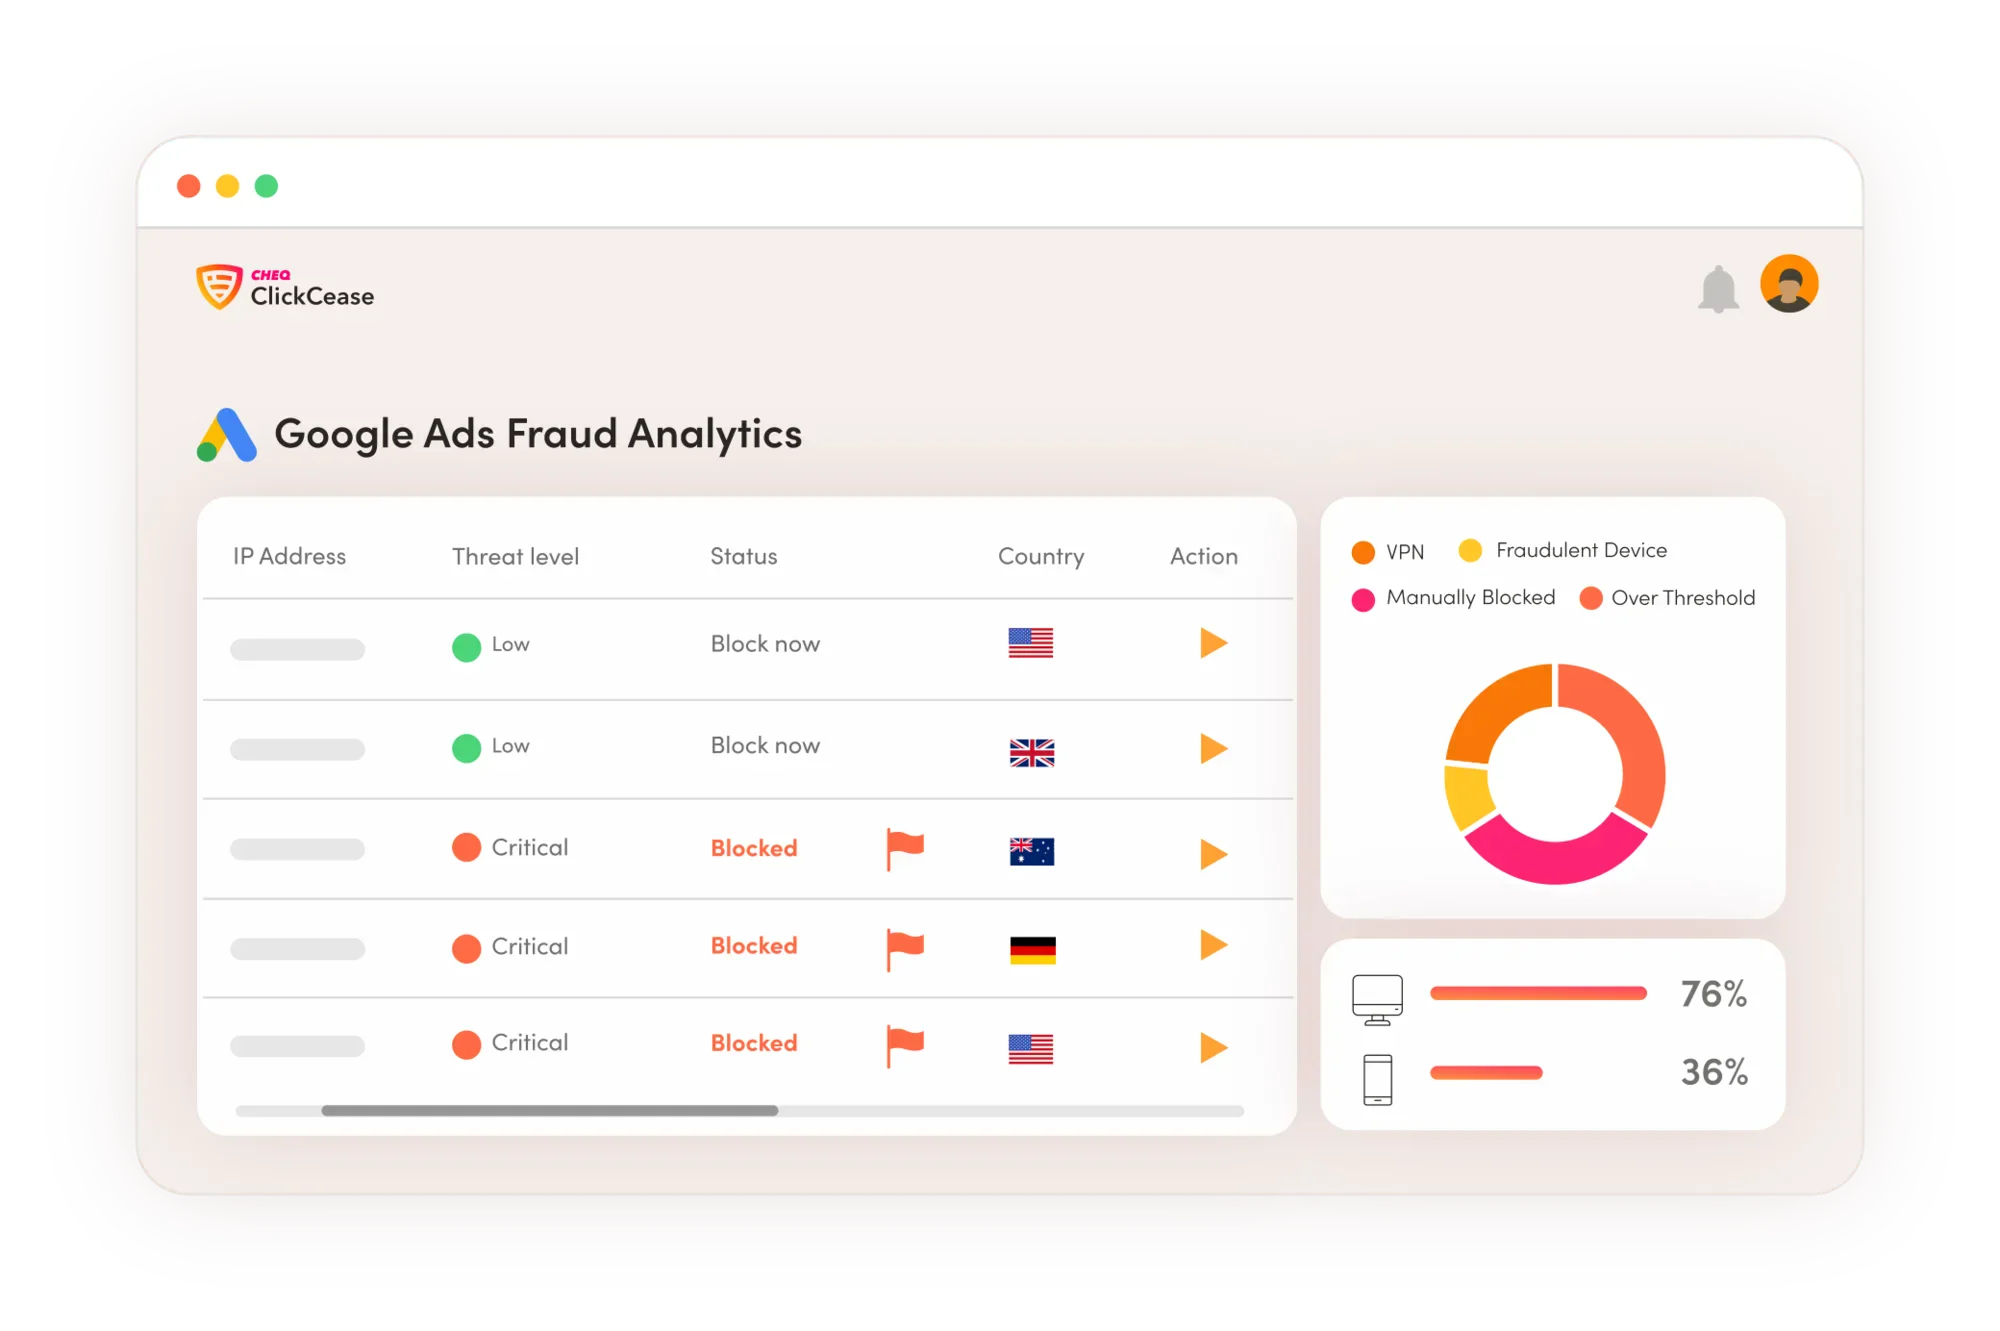
ClickCease measures invalid clicks, blocks them automatically, and helps you clean your data and reduce your ad spend. You can also block traffic manually if you consider its behaviour suspicious—for example, competitors—so you do not pay for their visits.
The consequences of spam traffic
In addition to wasting around 10% of your ad spend on absolutely nothing, it also distorts your data and makes it harder to optimise campaigns correctly. All ad tools increasingly use algorithms to make automatic adjustments—and if those optimisations are based on incorrect data, the results will also be worse.
Benefits of using ClickCease
- Your ad budget is spent less on fake clicks and more on real customers.
- Your performance metrics (CPC, conversion rate, CPA) become more accurate, leading to better optimisation decisions.
- The ad platforms’ algorithmic optimisations get better data to work from.
- Less manual clean-up work in Analytics and reports.
- Easy integration directly with Google Ads and Meta Ads

Who should prioritise doing this?
Honestly—any business that runs ads on Google and/or Meta and spends more than DKK 20,000 per month on advertising will see a benefit that exceeds the licence cost.
The more you spend on budget from here, the greater your incentive to use—if not ClickCease—then another tool to block spam traffic. In addition to the budget savings, you also gain improved data quality. 30% erroneous data causes more disruption with 100,000 visitors than with 1,000 visitors, because the data volume is larger.

What does it cost?
The price of ClickCease depends on the number of protected visitors/clicks and starts at a level equivalent to a few hundred kroner per month (there are plan variants based on traffic).
ClickCease also offers a 7-day free trial, so you can test the effect without risk. If you purchase the licence through Morningtrain, you can obtain a reduced monthly price.
Step-by-step setup
Here is a practical guide you can follow—we link directly to the relevant login/setup pages and ClickCease support articles, so you can jump straight to implementation.
- Create a ClickCease account — start with their onboarding and activate the 7-day trial if you want to test first.
- Log in to your Google Ads account (Ads / Manager Account) — use your ad account to connect ClickCease.
- Log in to Meta Business / Ads Manager — use your Business account to grant ClickCease access to your Facebook/Instagram campaigns.
- Connect Google Ads and/or Meta in ClickCease — follow ClickCease’s instructions to connect the accounts. (ClickCease supports both platforms and uses approved APIs.)
- Install the ClickCease tracking code — the easiest way is via Google Tag Manager; ClickCease has guides for both tracking template and tracking code. Follow their “Getting Started” articles.
- Start in “observation only” — let ClickCease observe for 14–30 days to establish a baseline (see which IPs/users appear suspicious).
- Enable automatic blocking — once the baseline looks stable, turn on automatic blocking and monitor progress for 1–2 weeks.
- Track and compare — document before/after for clicks, CPC, conversion rate, and your most important events (e.g., leads or sales).
- Adjust filters and exclusions — fine-tune after the test period: exclude internal IPs, trusted partners, or remove false positives from the allowlist.
- Set up ongoing monitoring — check the reports regularly, and use ClickCease logs to report patterns or specific IP blocks.